

In this article, we would demonstrate two ways of converting XPUB to YPUB. Lets dive in.
What are XPUBs and YPUBs?
The XPUB, also known as Extended Public Key, is part of the bitcoin standard (BIP32). This key provides users with a ‘read-only’ view of all addresses, transactions, and balances belonging to that wallet. Such keys do not allow spending since they do not contain the private key.
The YPUB is similar to an XPUB. However, it follows a different bitcoin standard (BIP49). This provides a backward-compatible address structure for segregated witness which is a recent update to the bitcoin network.
What happens if you only have the XPUB and need to convert it to the YPUB? There are two ways of converting XPUB to YPUB.
- Method 1: Using the Mnemonic Code Converter (Easier and less secure)
- Method 2: Using Python to convert (Difficult and more secure)
Method 1: Using the Mnemonic Code Converter (Easier and less secure)
In this method, we would be entering our mnemonic seed into a tool to generate the YPUB. This is a risky operation as an infected computer may steal your seed in the process. As such, you should only perform this operation on an air-gapped computer.
Security tip: This method is highly discouraged. You should never enter your seed into a device other than a hardware wallet. Furthermore, setting up a completely air-gapped computer is almost impossible for most people. Unless you are a security expert, use Method 2 instead.
Step 1: Go to this website.
Step 2: In your web browser, select file > save-as, and save this web page as a file.
Step 3: Move the files to an air-gapped computer.
Step 4: Open the web page you saved on the air-gapped computer.
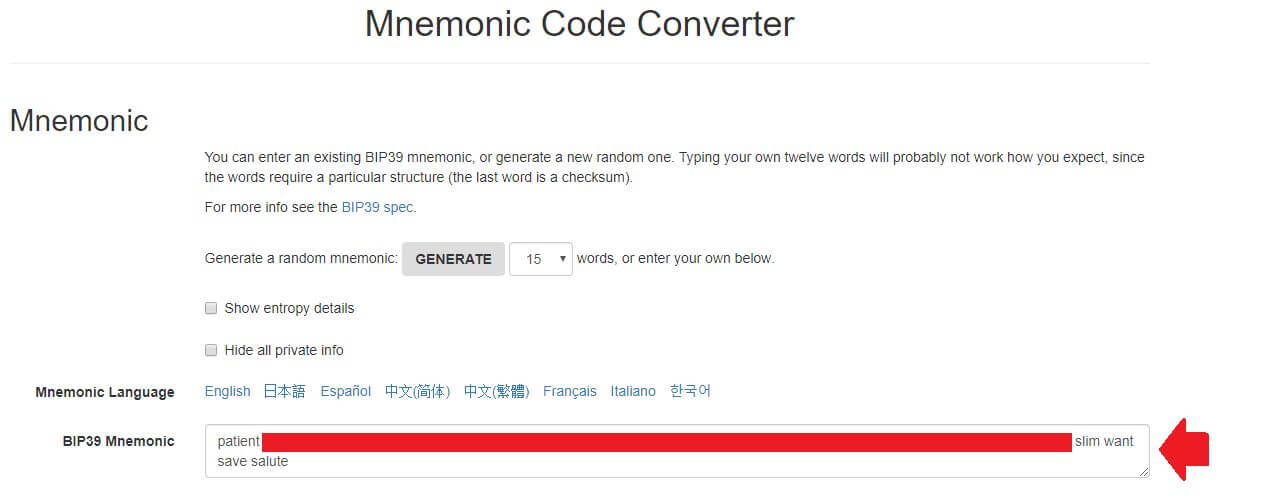
Step 5: Enter your mnemonic seed into the BIP39 Mnemonic section.
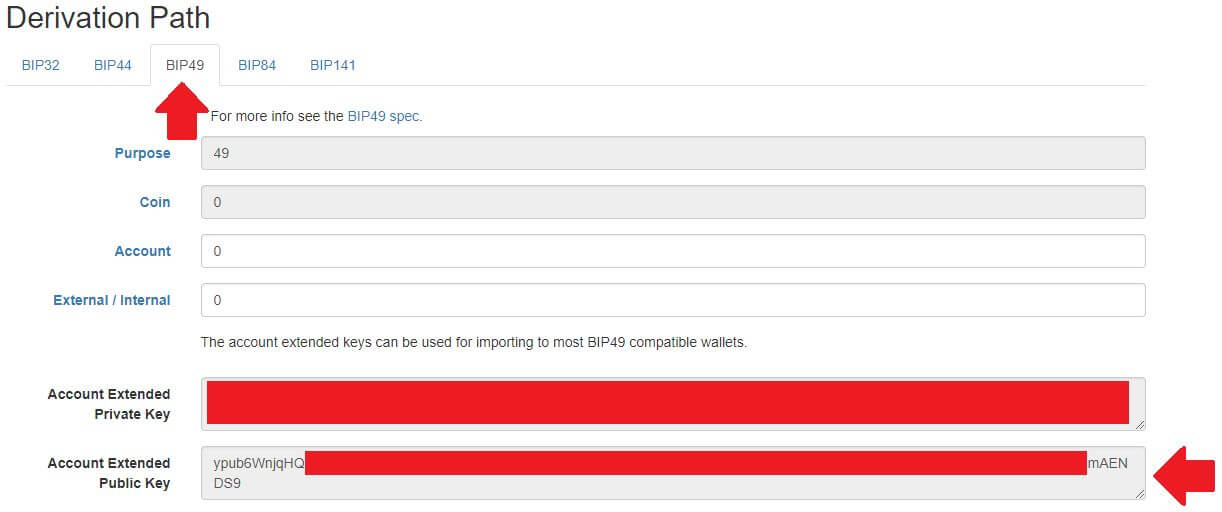
Step 6: In the section of Derivation Path, select BIP 49. Your YPUB would be in the Account Extended Public Key field.
Method 2: Using python to convert (Difficult and more secure)
In this method, we would not need to expose our mnemonic seed. Instead, we would only be using our XPUB. Are there risks to exposing your XPUB to an electronic device? Yes, if someone gets hold of it they can trace all transactions associated with your addresses and compromise your privacy. However, they would never be able to steal your funds.
Installing Python
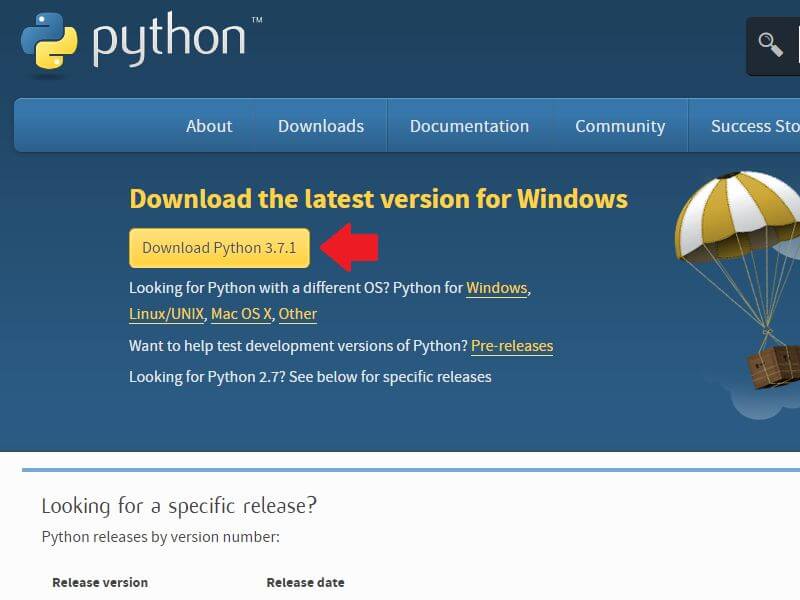
Step 1: Download the latest version of Python here.
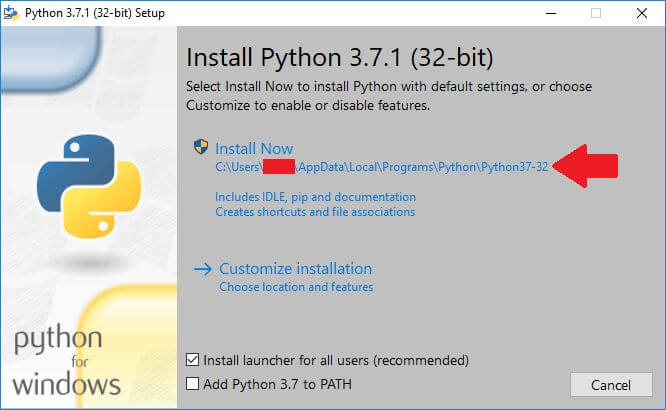
Step 2: Run the file to install Python. Take note of the location you are installing Python into.

Configuring Windows
Next, we need to ensure Windows can recognize the pip function.
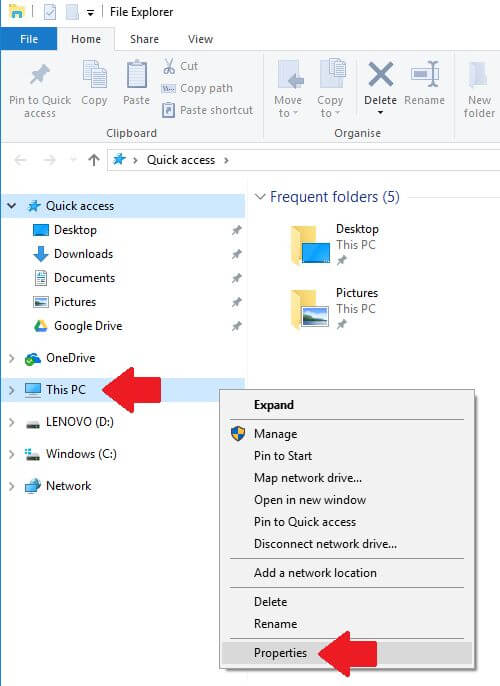
Step 3: Press the Windows button together with the letter E. This opens up the File Explorer.
Step 4: Right-click on This PC and select Properties.
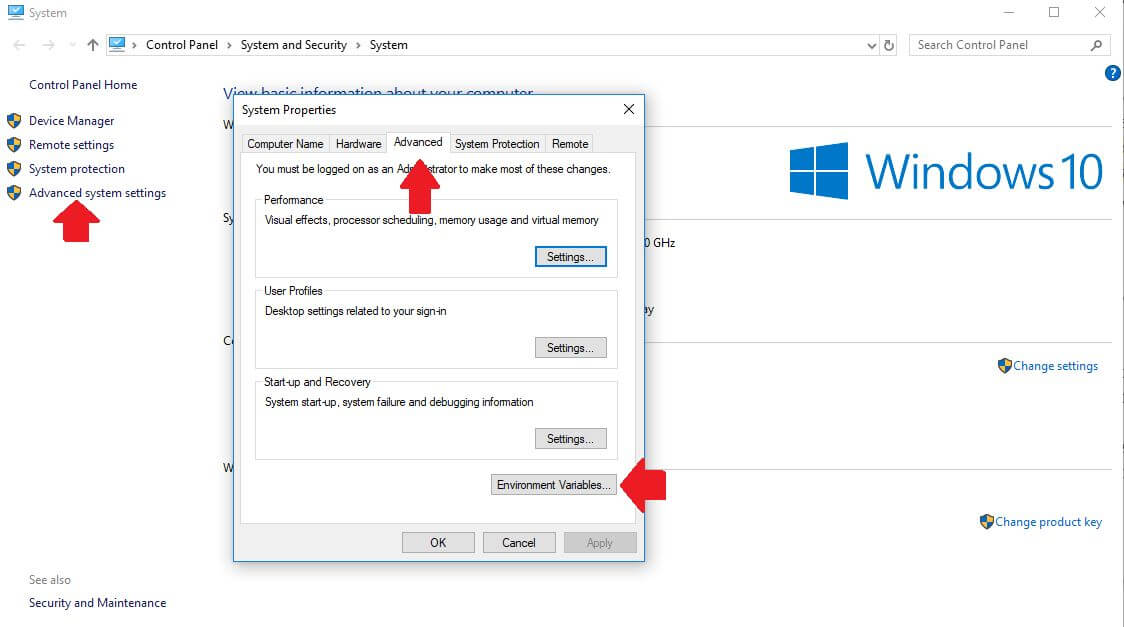
Step 5: In the new window that opens, select Advanced System Settings. A System Properties window would pop up. Select Environment Variables there.
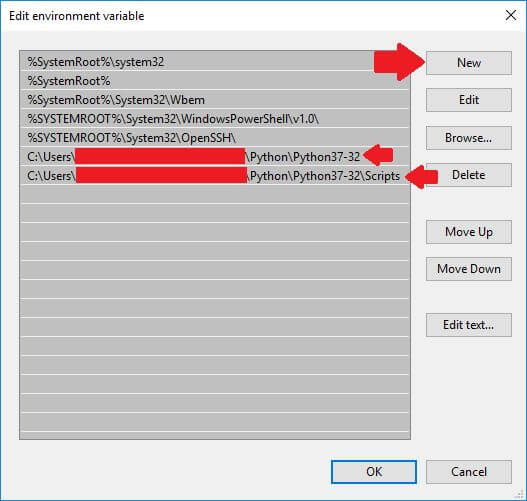
Step 6: In the Environment Variables window that opens, select Path in the System Variables section and select Edit.

Step 7: The Edit Environment Variable view shows up. Remember the location of where you installed Python in step 2? This is where it comes in. Select New and insert the address to the main directory of Python and the Scripts directory.
Step 8: Close all windows by pressing Ok.
Installing relevant Python packages
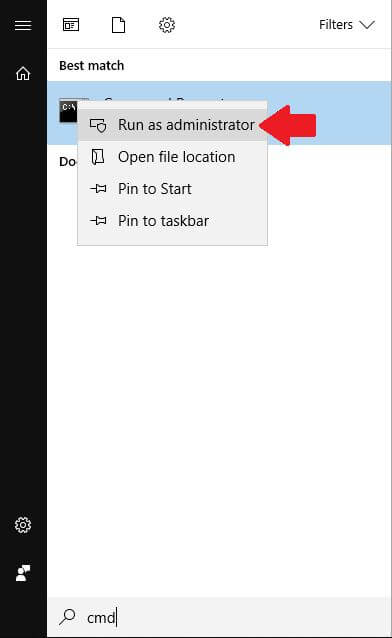
Step 9: Select the Windows button and type in cmd. The Command Prompt should appear.
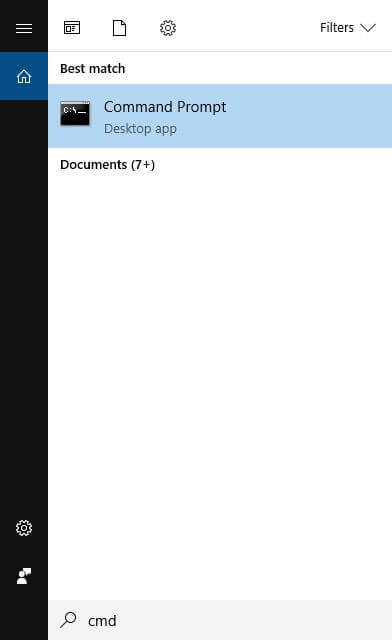
Step 10: Right-click on Command Prompt and select Run as Administrator.
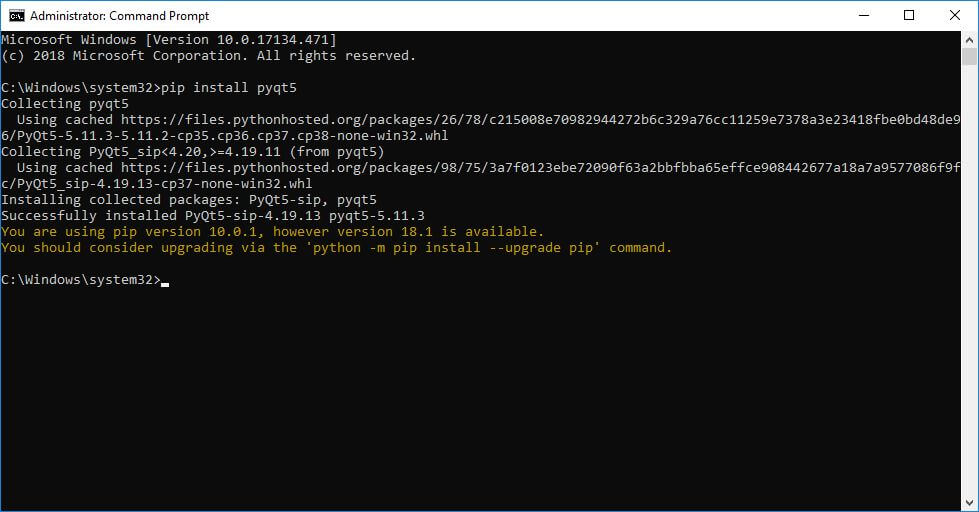
Step 11: In the Command Prompt, type in pip install pyqt5 and hit Enter.
Downloading Electrum
Step 12: Download Electrum from this link. You should download the version under the header “Installation from Python sources”.

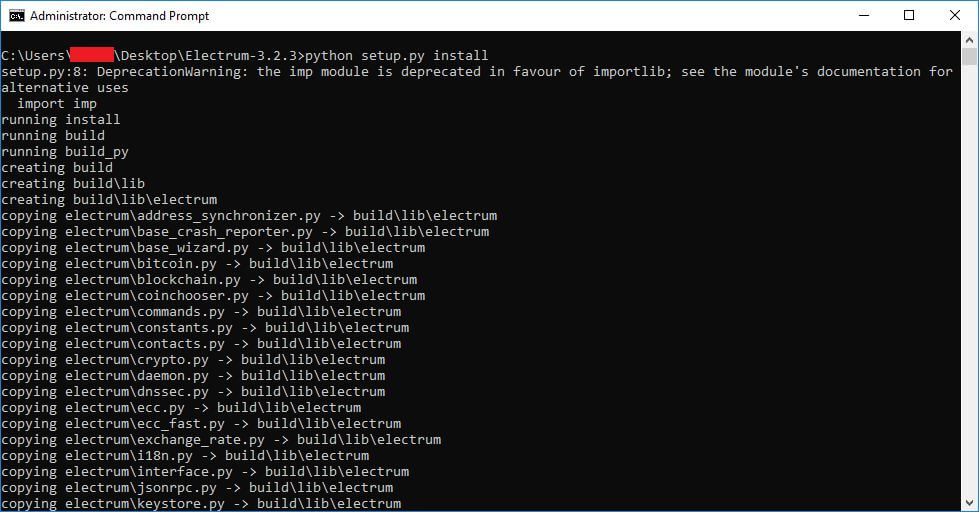
Step 13: Unzip the file. For us, we have unzipped it onto the desktop for convenience.
Step 14: In your Command Prompt, navigate to the folder you have unzipped Electrum in and type in python setup.py install and hit Enter.
Downloading python script for conversion
We would now download the script that allows us to convert XPUB to YPUB.
Step 15: Download this python script.

Step 16: Unzip the file. For us, we have unzipped it onto the desktop for convenience.
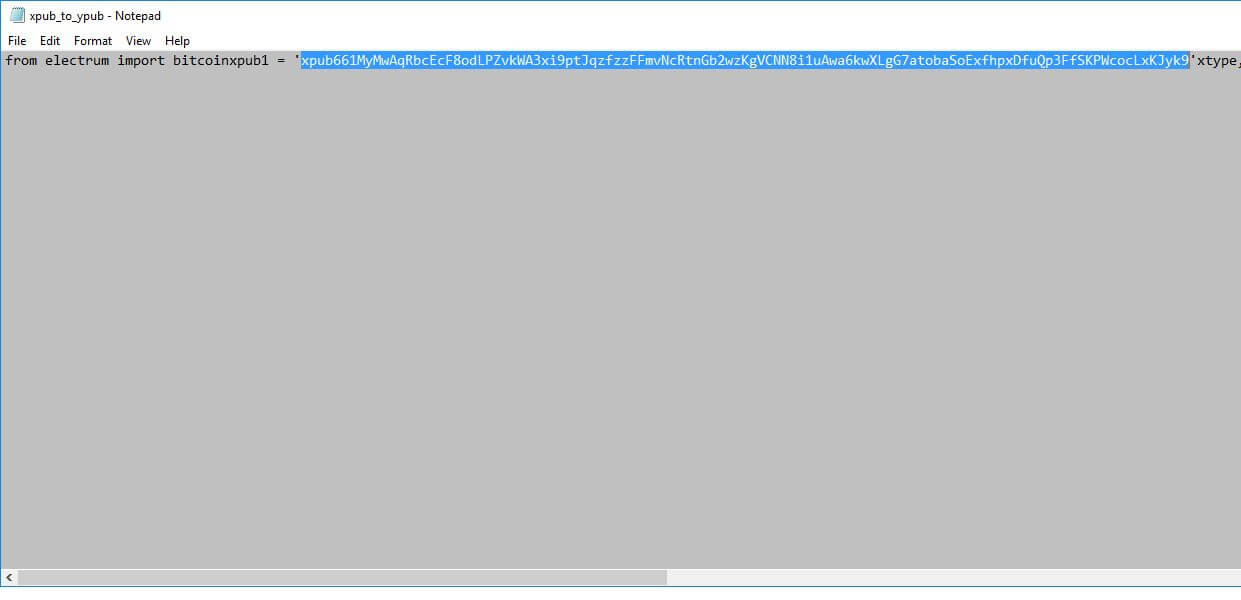
Step 17: Open the file with Notepad. Replace the highlighted portion below with your XPUB.
Converting XPUB to YPUB
Step 18: Go back to your Command Prompt. As per step 9 and 10.
Step 19: Navigate to your desktop (or wherever you saved the python script for conversion).
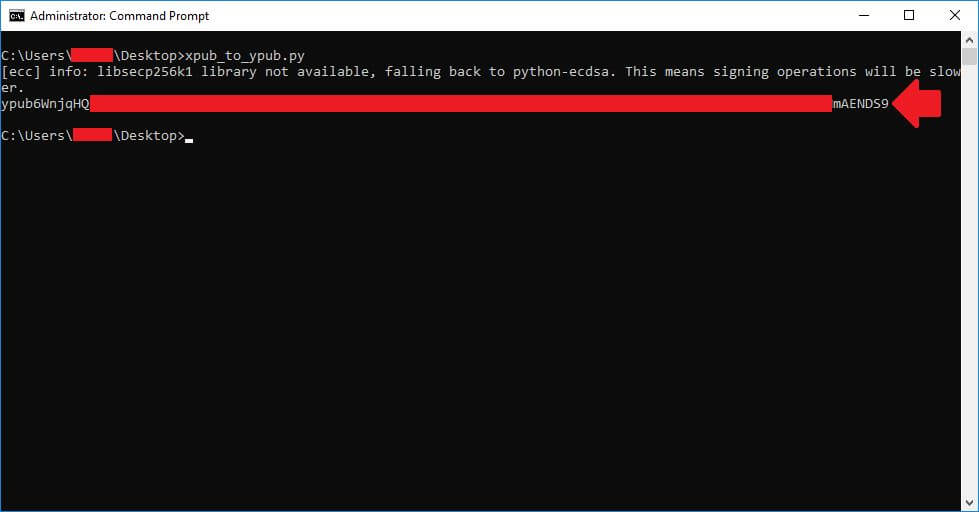
Step 20: Type in xpub_to_ypub.py and hit Enter. Your YPUB code should appear.
Troubleshooting
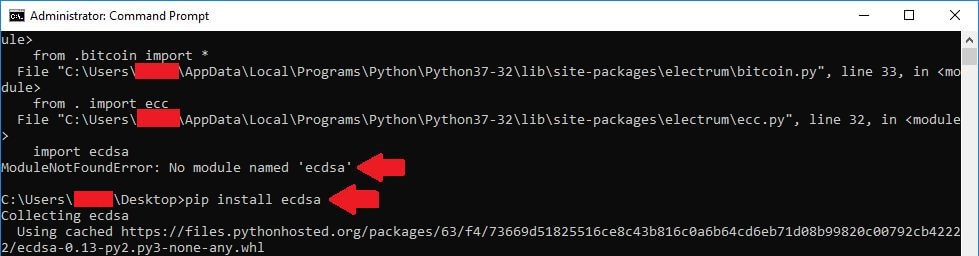
If you get error messages on modules not being found, simply type in pip install and hit Enter. For example in the screenshot below ecdsa was missing. Thus, we typed in pip install ecdsa and then hit Enter.
Other modules you may have to install this way are as follows:
– dnspython
– jsonrpclib-pelix
– protobuf
– pyaes
– PySocks
– qdarkstyle
– qrcode
– requests
– typing